Server and client guide
On this page you find a how to guide for setting up server and clients.
About server and clients
PsxCad has a build-in option for client projects to connect to a server project, which allows for multiple users to acces a single project within their shared network. This will come in handy when giving training to operators with a simulation. The client will have no simulator control box for controlling the simulation.
How to set up the server
Usually a PsxCad project is already set up as a server, but to check this and make sure your project will act as a server you can follow the following steps.
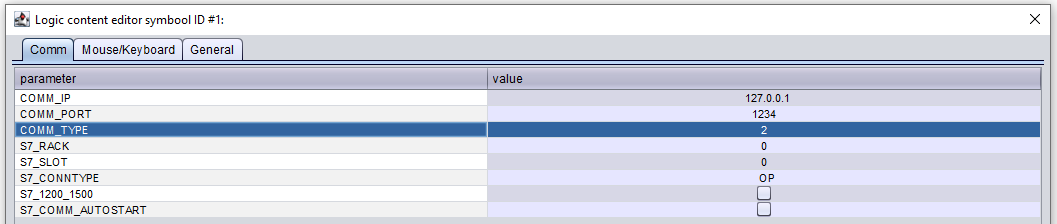
Go to and a pop-up for the runtime parameters will appear. Make sure that the field for comm_type contains number 2. With this it is set as a server. See the example below.
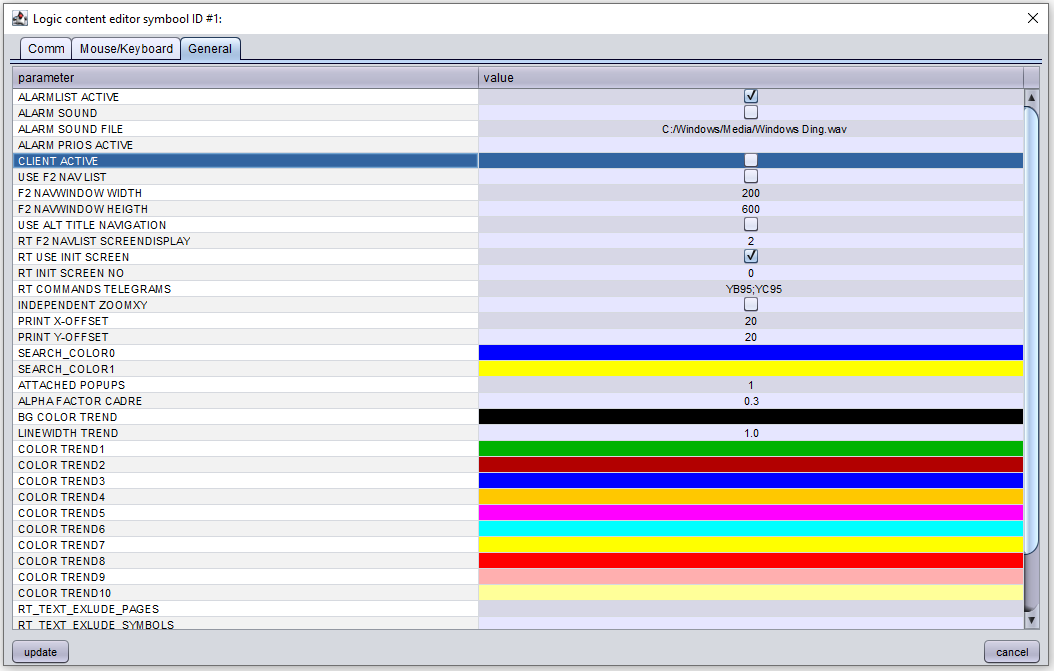
Under the tab general make sure the checkbox for client active is unchecked. See the example below.
With these settings your project acts as a server.
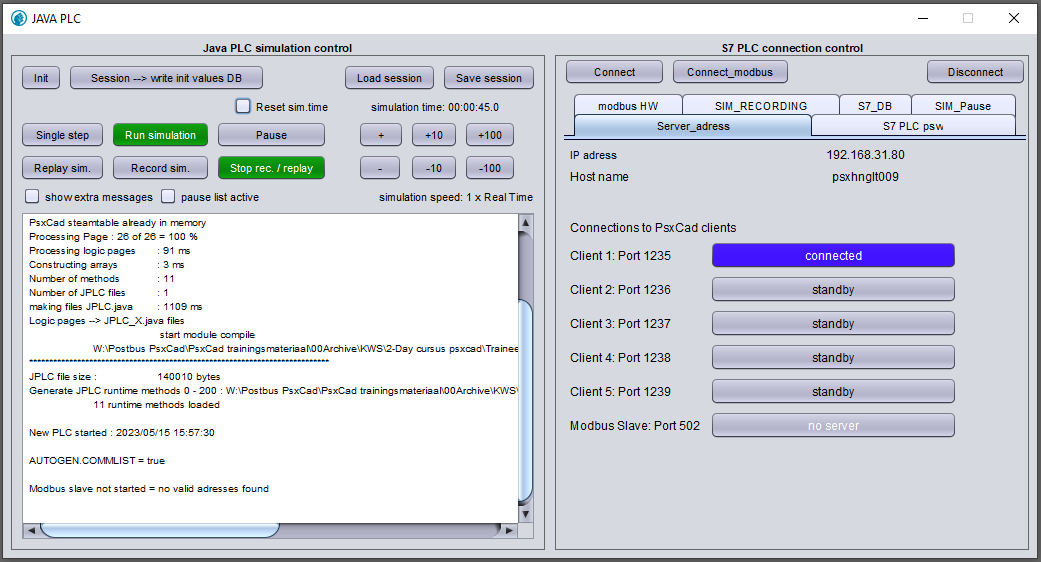
You can confirm the connection with this client by looking at the simulator control box of the server project. Here it shows the state of the connections to client projects under the tab Server_adress.
How to set up the clients
A project must be an exact copy of the server project at first except for the following settings of course. To do this you will have to make two saves of your project first. One will be used as server with the usual settings above and one will be our client project from which users can acces the server project.
Go to and a pop-up for the runtime parameters will appear. Make sure that the field for COMM_TYPE contains number 4. With this it is set as a client. The client needs to know where to look, so you need to give up a target IP adress with port number. This is the IP adres of the server that you will find on the control box of the simulator (See Figure 3). Then you need to select one of the five possible port numbers reserved for a total of five clients, these are the port numbers 1235 to 1239. Fill in the IP adress and port number in the fields for COMM_IP and COMM_PORT. See the example below.

Under the tab general make sure the checkbox for client active is checked. See the example below.

With these settings your project acts as a client.