Creating an alarm list
Overview
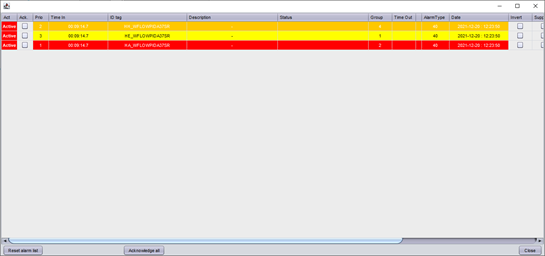
Alarms are conditions that are evaluated when the value of a selected tag changes: the alarm is triggered active when certain condition are met.
Triggered alarms are acknowledgeable. This flags the alarm so that the acknowledgement state can be made visible throughout the PsxCad framework. Acknowledgement also allows users to "claim" alarms by letting others know alarms are being handled while remaining active. Acknowledgeable alarms are considered unacknowledged by default.
Defining the global settings
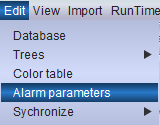
To create alarms, one must first set the global parameters which will define the alarms’ behavior. Go to to access the adjustable alarm parameters.
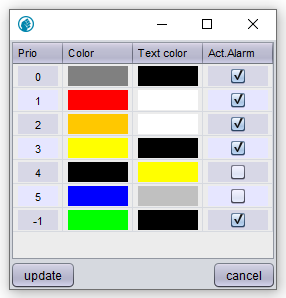
The first column sets the priority list for all the alarms. The following two columns allow one to specify the color for the background and for the text of each alarm priority category. In the final column one can define whether the related alarm category needs to be acknowledged or not.
Confirm the final settings by pressing the update button.
Creating the proper environment into the database (done only once)
|
It is advisable to complete the logic code in your project before proceeding any further. Creating and generating alarms is best to do at the ending of a project, when all alarms of the project are known. Otherwise, manual corrections to the database might be required to integrate alarms properly. |
This paragraph will explain how you can add columns reserved for alarming to the current database in your project. Normally this will only be done once at the end of a project. If these are already made in your project you just need to skip this paragraph.
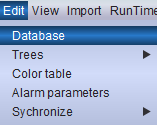
Select the Edit field in the upper menu bar and left click on Database to start creating the alarm database.
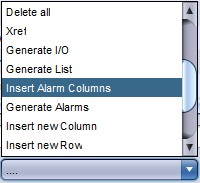
In case no alarm has yet been added to the database one initially needs to create the necessary structures required for this purpose: on the bottom of the newly opened screen choose the "Insert Alarm Columns" action from the dropdown menu and confirm by pressing the execute button.

A number of columns will be added automatically: GROUP, PRIO, ALARM_NR, IS_ALARM, ALARM_INVERT, ALARM_SUPPRESS, ACTIVE en INACTIVE.

Finalize the new structures into the project database by left clicking on the update button and confirm by pressing the Yes button in the following pop-up.
Creating alarms
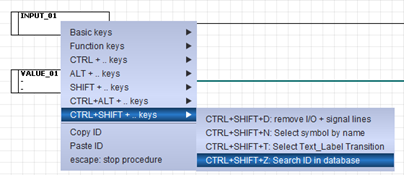
Open the database screen, either by selecting the Edit field in the upper menu bar and left clicking on Database, or by pressing Ctrlshiftz with the cursor on the signal of interest (digital or analogue) while in the Logic view mode.
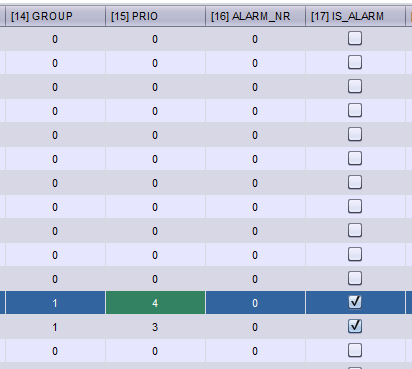
To make an alarm for the selected signal check the related tick box in the IS_ALARM column and select a priority category in the PRIO column. Alarms can also be categorized into groups by allocating a value to the GROUP column (e.g., all boiler alarms will belong to Groupe 01, all turbine alarms to Groupe 02, and so on).
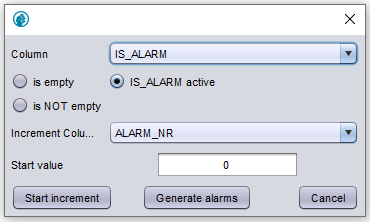
Once this has been done for all the required alarms, select the Generate Alarm action from the dropdown menu and confirm by pressing the execute button.

In the following pop-up window successively press the Start increment, the Generate alarms and the Cancel buttons (while keeping the default selections as seen in the screenshot below).
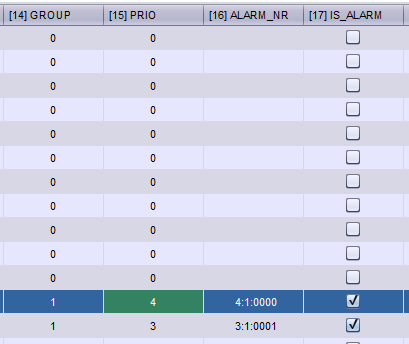
The result in the database should now look as follows:
Finalize the new structures into the project databank by left clicking on the update button and confirm by pressing the Yes button in the following pop-up.
Checking the alarm list status
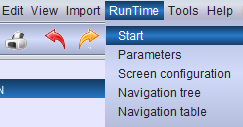
Go to to verify whether the newly created alarm list is active (in the General tab).


If not, check the related tick box and confirm by left clicking on the update button.
Creating a button for calling an alarmlist
While in Screen mode or Cadre mode place a symbol that will be used as a navigation button to an alarm list in one of the screens eventually available to the Operators. The symbol must be configured as seen below in figure 14 (use the shortcut G while the cursor is on the symbol) to function as a button that calls a list of active alarms.
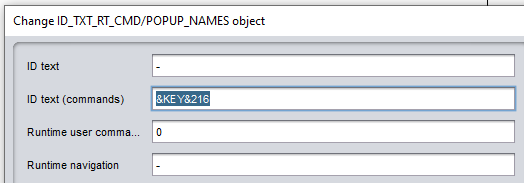
The symbol is here configured with the runtime function "&KEY&216" to open an active alarm list when being clicked. This function will produce a list of all active alarms in the project.
It is possible to filter alarms in your project by adding three parameters to the function between parentheses (see figure 15). The first parameter is a string and determines on which column of ID/alarm tags the filter action is applied to in the database. The second parameter is the input of the search action of the filter and the third parameter determines with an integer what kind of search action is applied to filter on alarm tags. The following six options are available with values of 0 to 5.
Value |
Function |
Value |
Function |
0 |
equals |
3 |
ends with |
1 |
starts with |
4 |
starts with |
2 |
contains |
5 |
ends with |
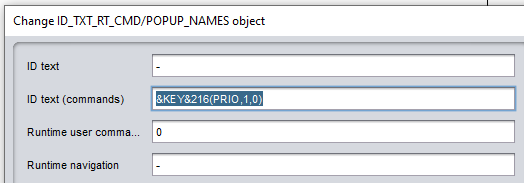
With the configurations of the example in figure 1 the only alarms of the project that have a PRIO value equals to 1 will be shown in the alarmlist.