Color table
Background
You can use the Color table to define frequently used colors and store them as a variable. This eliminates the need to repeatedly use the color picker to set colors when creating symbols or HMI screens. Furthermore, should you ever need to change a color throughout your project, you only need to do it once (that is, in the color table).
To open the Color table, choose . A new window will open (Figure 1). The Color table will be empty in case of a new project (Figure 2).
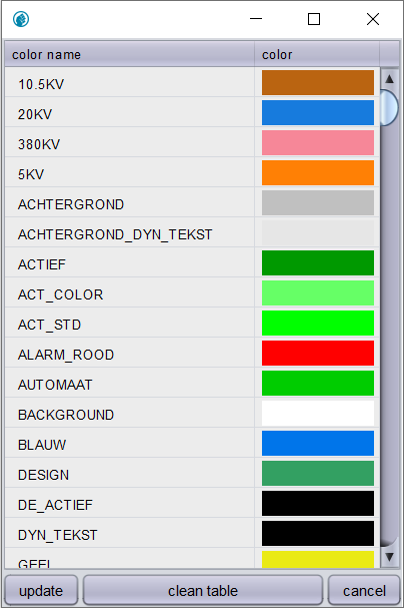
Figure 1. Color table
|
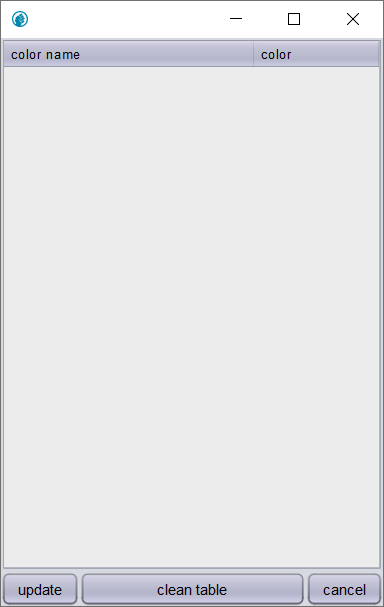
Figure 2. Color table - empty
|
Create color variable
To create a new color variable, follow the steps below.
-
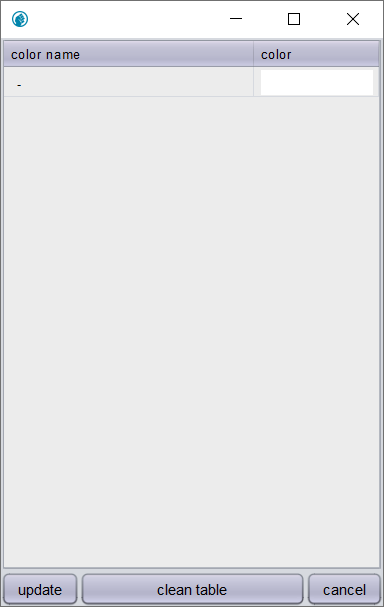
Press Insert on your keyboard. A new row is inserted at the bottom of the table. (Figure 3).
-
In the first column (Color name), set a unique and distinctive variable name.
-
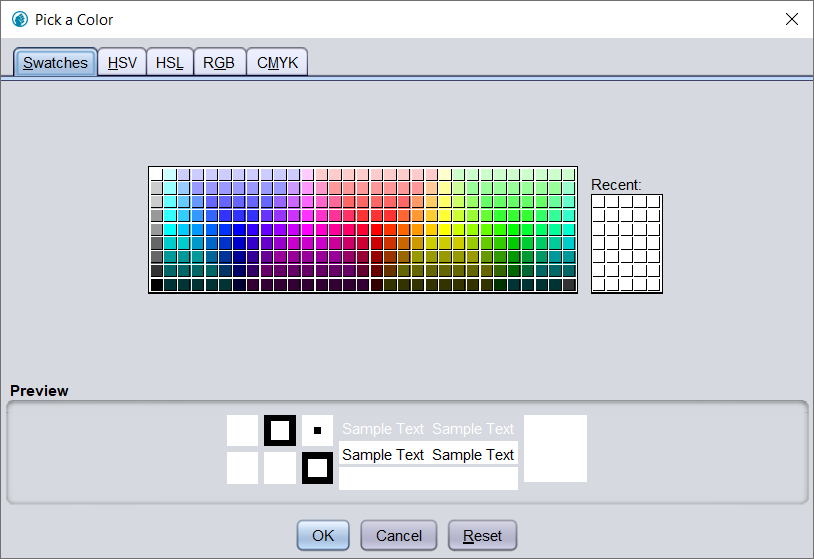
Click the color box in the second column (Color). A color picker window will open (Figure 4).
-
Pick a standard color or define a custom color using the RGB color mode (or one of its alternatives).
-
Click Ok. The color variable will show the color you just picked (Figure 5).
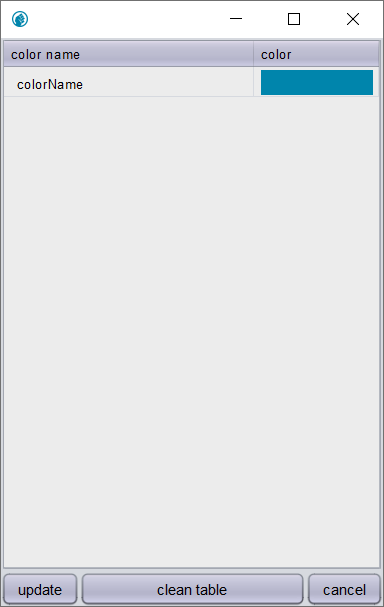
-
To save your changes, click Update in the bottom left corner.
-
Once saved, you can use the color variable throughout the project.
Use color variable
Now that you have created one or more color variables you can use them throughout your project, either in existing symbols (through symbol parameters) or in the symbol editor.
Existing symbols
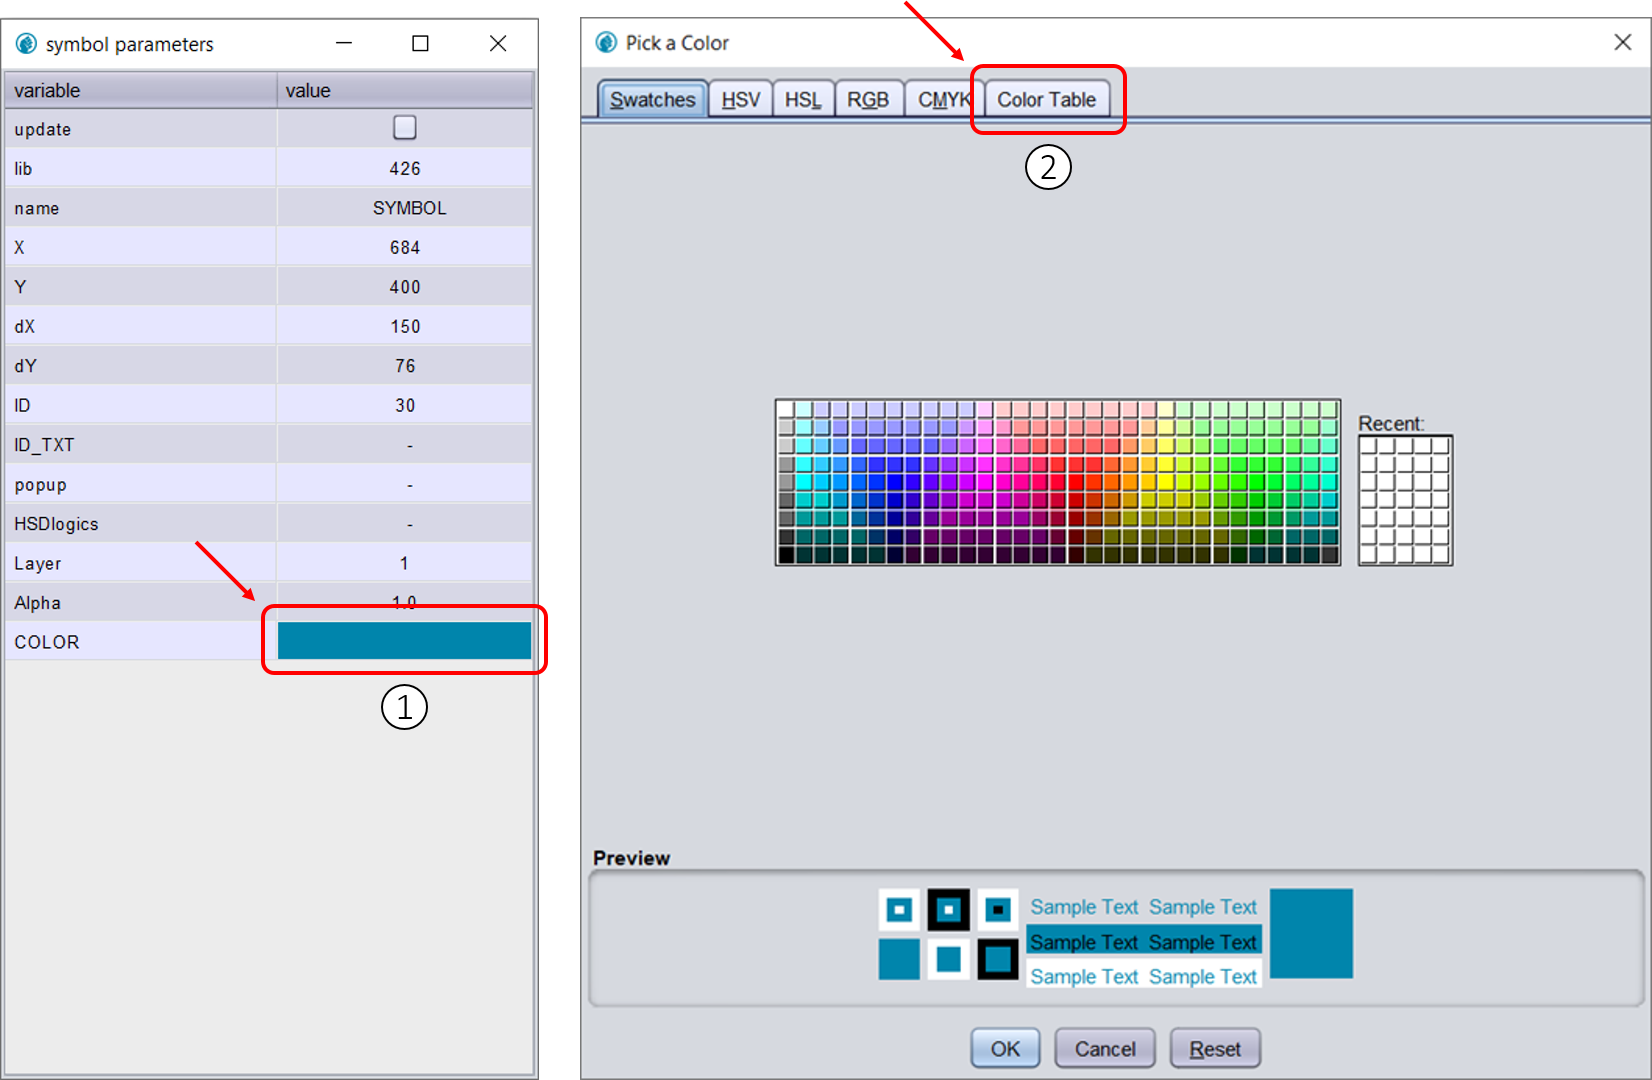
Right-click and choose or press E on your keyboard while hovering your mouse over a symbol to open the symbol parameters.
![]() Click on the color field in your symbol (Figure 6).
Click on the color field in your symbol (Figure 6).
![]() Click Color table in the upper bar.
Click Color table in the upper bar.
Next, select a color variable and click Ok.
Symbol editor
To create a link to the Color table in the symbol editor, use #<variableName> as input in the color field. Replace <variableName> with the name of the variable in the Color table (for example: #colorName).
|
If a variable is not defined in the color table, it will be white. Be sure to specify the correct variable. |
